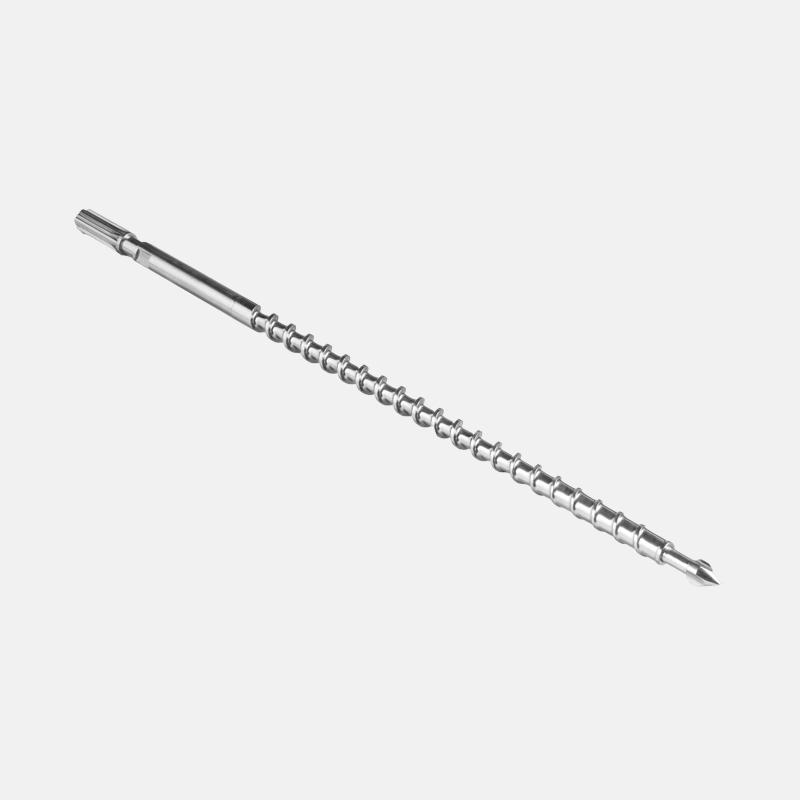
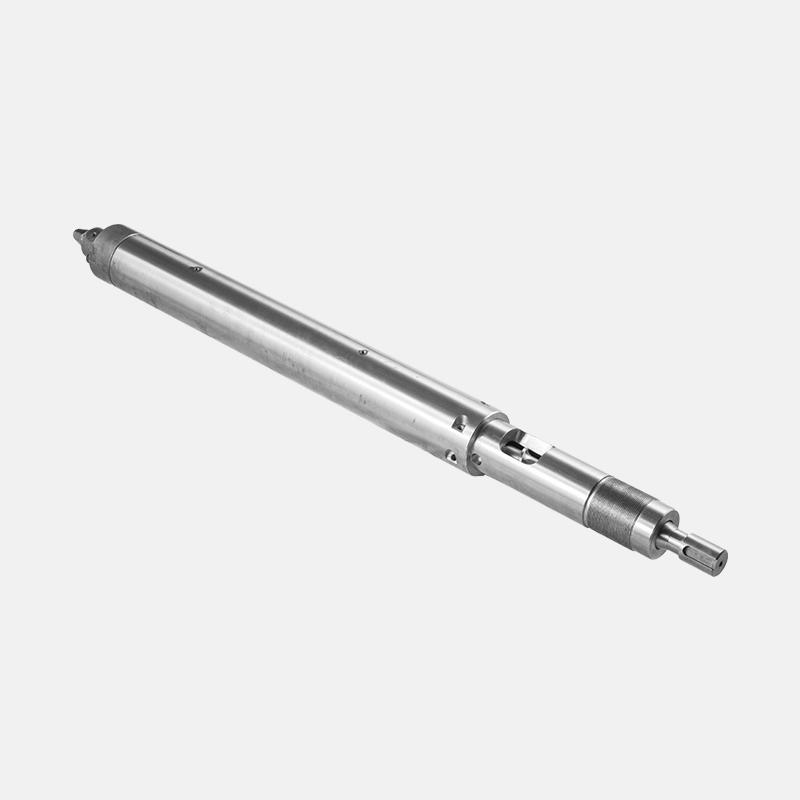
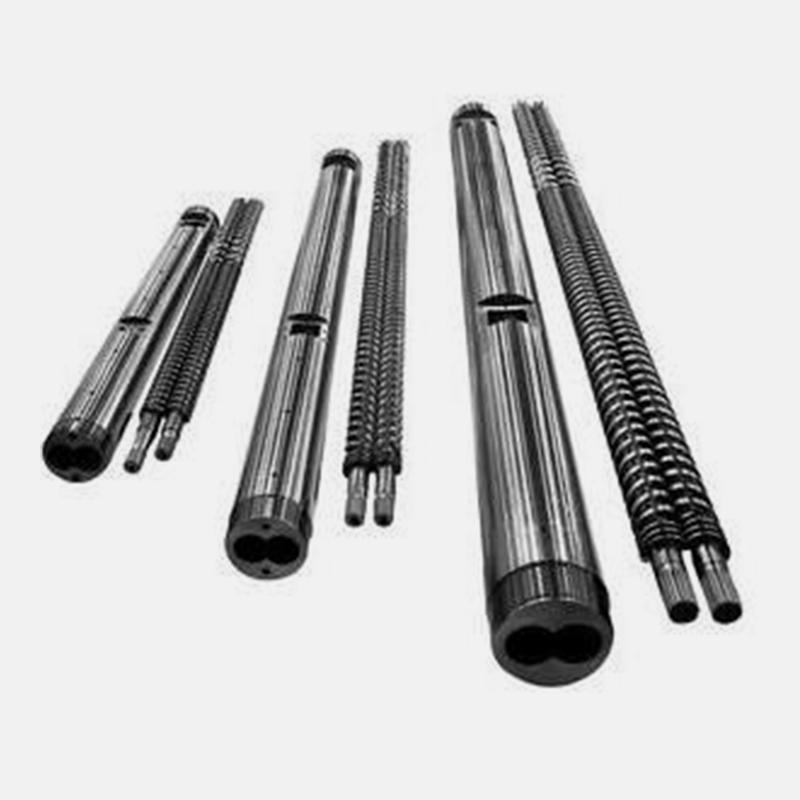
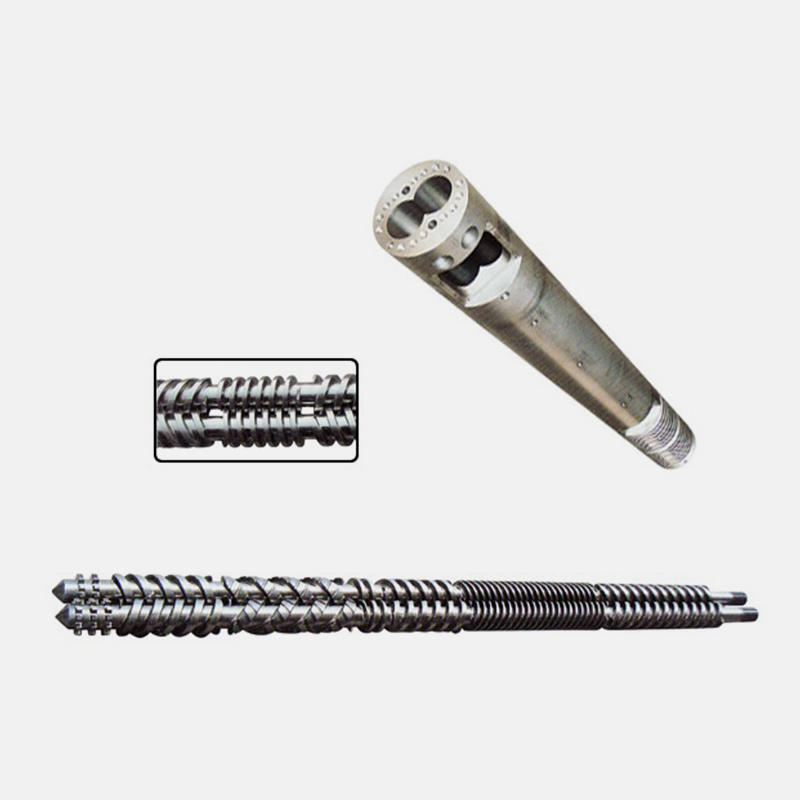
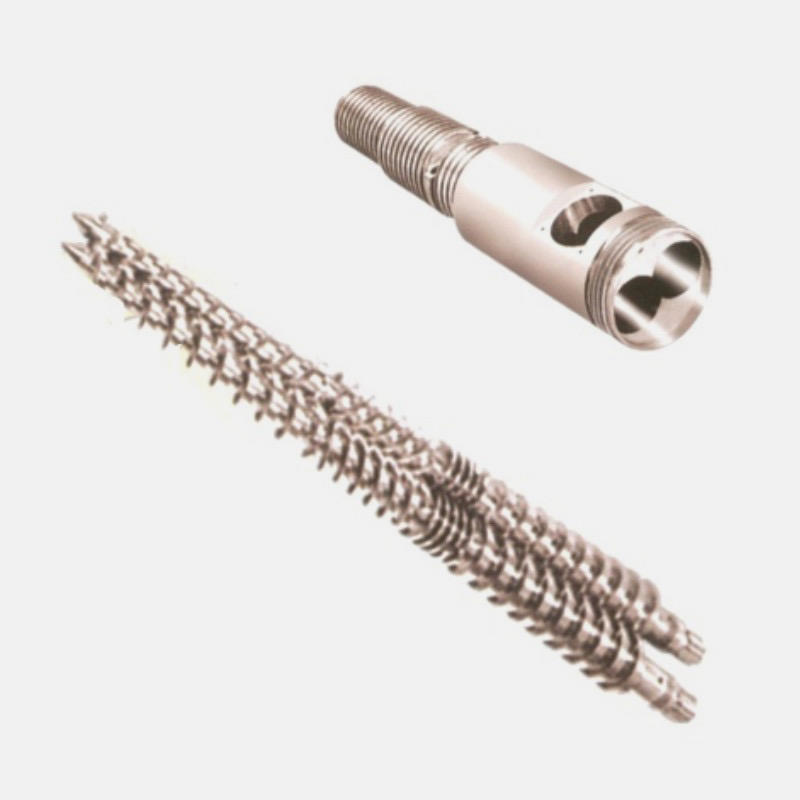
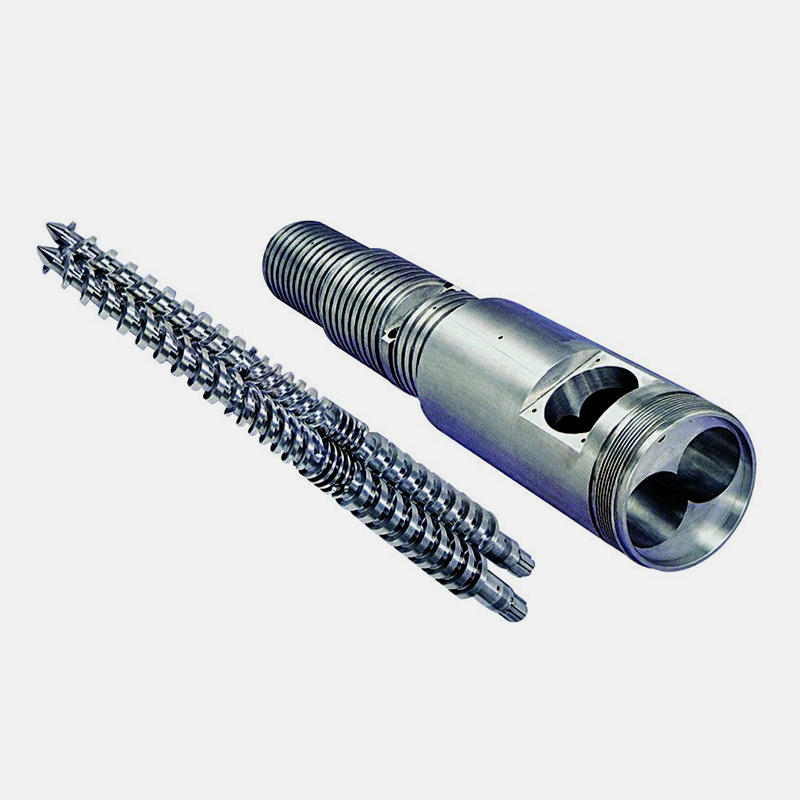
Every plastics processor should include routine inspections of plasticized components in their maintenance plan. The use of worn-out components can cause many problems, including reduced throughput, increased energy use, and even equipment damage. The best maintenance plan regularly schedules measurement inspections of the components. Over time, these measurements help create a wear curve to determine the service life of the component.
There are many reasons for component wear. Wear is divided into three categories: abrasive, viscous and corrosive.Abrasives-abrasion caused by Screw barrel resin fillers and additives; these small, hard particles will wear away metal surfaces. predecessor. Adhesives-wear caused by metal-to-metal contact; this is caused by improper alignment or geometric incompatibility.Corrosiveness-Wear caused by the reaction of chemical substances with metal surfaces; release of gas from degraded resin. Examples include PVC and fluorocarbons.
Other factors that affect wear include:
Screw, barrel, drive alignment
Heat evenly
Resin type
Screw/barrel material
Excessive back pressure
High screw speed
Check the screws
Before inspection, remove all excess resin and place the screws on a clean, flat work surface. First check the general condition of the screws. Look for damage, pitting or cracks. If available, use a granite table to check the straightness of the screw by rolling and looking for bends. If it is bent, it can be measured with a feeler gauge.

 English
 简体中文
简体中文 España
 عربى
عربى
